Quick Start

Learn to create a Hugo FixIt site in minutes.
In this tutorial you will:
- Create a site
- Add content
- Configure the site
- Publish the site
Prerequisites
Before you begin this tutorial you must:
- Install Hugo (extended edition, v0.112.0 or later)
- Install Git
You must also be comfortable working from the command line.
Create a Site
Commands
Verify that you have installed Hugo v0.112.0 or later.
| |
Run these commands to create a Hugo site with the FixIt theme. The next section provides an explanation of each command.
| |
View your site at the URL displayed in your terminal. Press Ctrl + C to stop Hugo’s development server.
Explanation of commands
Create the directory structure for your project in the my-blog directory.
| |
Change the current directory to the root of your project.
| |
Initialize an empty Git repository in the current directory.
| |
Clone the FixIt theme into the themes directory, adding it to your project as a Git submodule.
| |
Append a line to the site configuration file, indicating the current theme.
| |
Start Hugo’s development server to view the site.
| |
Press Ctrl + C to stop Hugo’s development server.
Add Content
Add a new page to your site.
| |
Hugo created the file in the content/posts directory. Open the file with your editor.
| |
Notice the draft value in the front matter is true. By default, Hugo does not publish draft content when you build the site. Learn more about draft, future, and expired content.
Add some Markdown to the body of the post, but do not change the draft value.
| |
Save the file, then start Hugo’s development server to view the site. You can run either of the following commands to include draft content.
| |
Since the theme use .Scratch and .Store in Hugo to implement some features, it is highly recommended that you add --disableFastRender parameter.
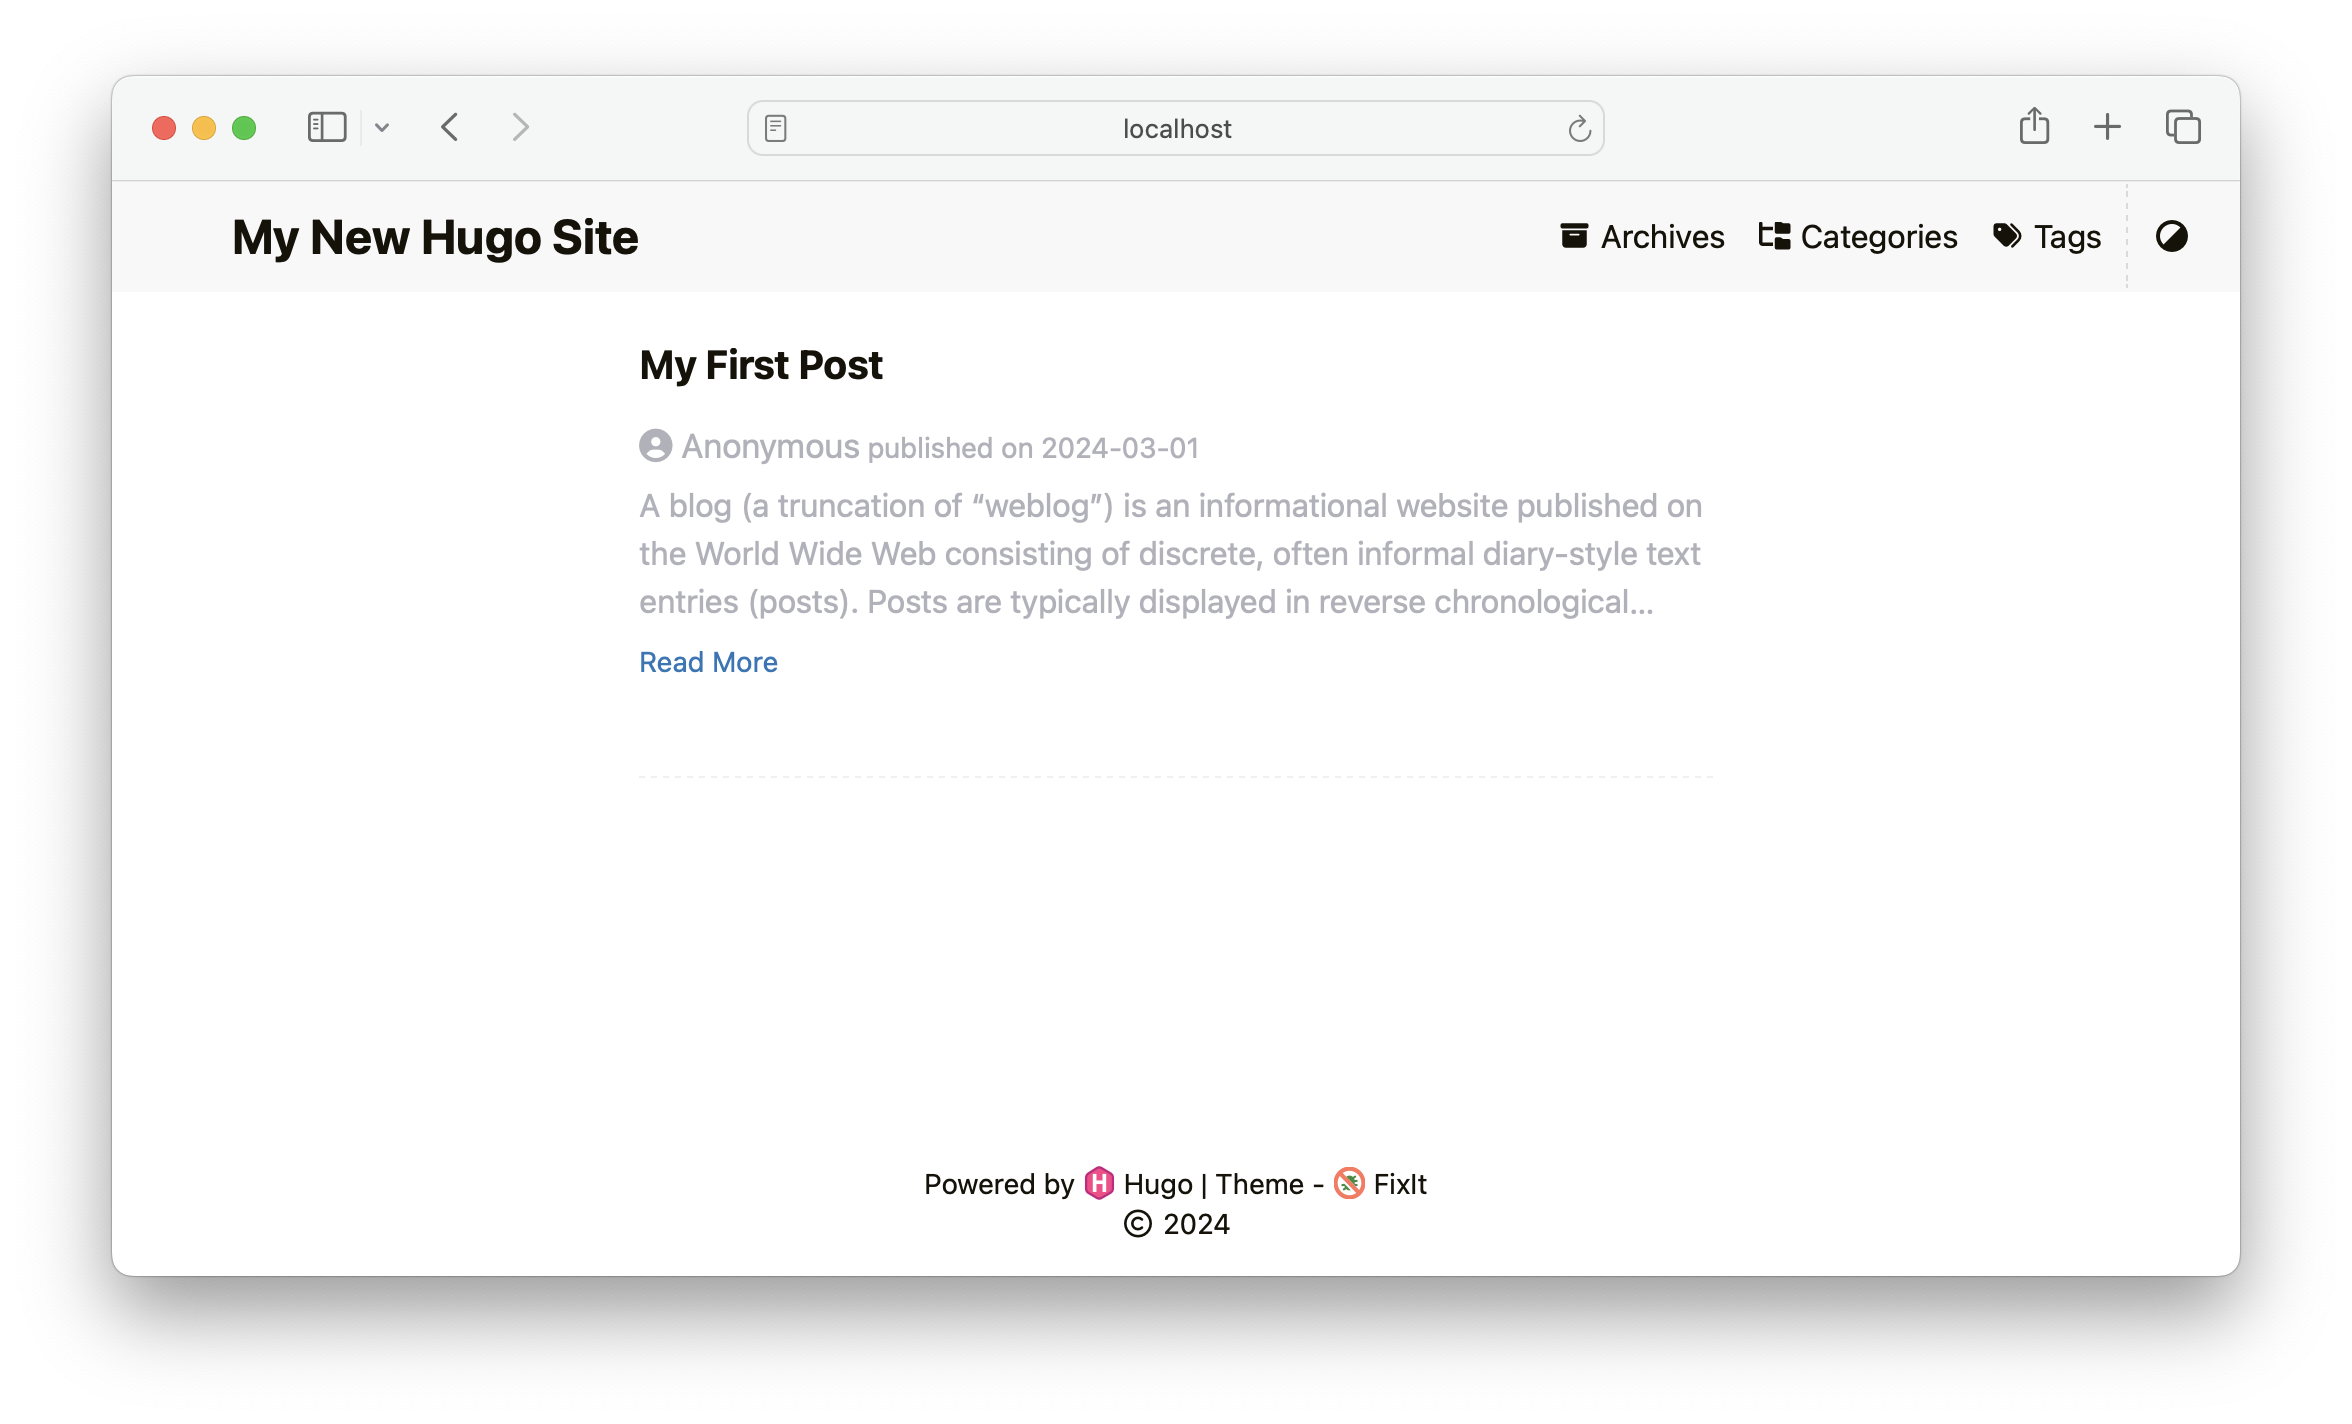
View your site at the URL displayed in your terminal. Keep the development server running as you continue to add and change content.
When satisfied with your new content, set the front matter draft parameter to false.
In addition, the FixIt theme supports some extended Markdown syntax.
Publish the Site
In this step you will publish your site, but you will not deploy it.
When you publish your site, Hugo creates the entire static site in the public directory in the root of your project. This includes the HTML files, and assets such as images, CSS files, and JavaScript files.
When you publish your site, you typically do not want to include draft, future, or expired content. The command is simple.
| |
Most of our users deploy their sites using a CI/CD workflow, where a push1 to their GitHub or GitLab repository triggers a build and deployment. Popular providers include Vercel2, Netlify3, AWS Amplify, CloudCannon, Cloudflare Pages, GitHub Pages and GitLab Pages.
To learn how to deploy your site, see the hosting and deployment section.
Ask for help
All feedback is welcome! Head over to the issues or discussions tracker.
The Git repository contains the entire project directory, typically excluding the public directory because the site is built after the push. ↩︎
Related Content
 Alipay
 WeChat Pay
